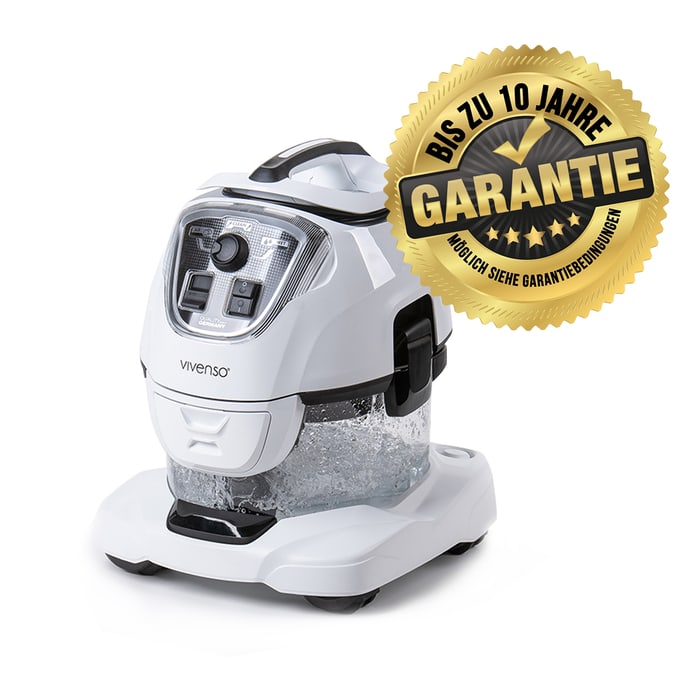
As you get started with your Vivenso vacuum cleaner, you’re probably eager to tackle those stubborn messes and leave your floors spotless. To get the most out of your machine, you’ll need to fine-tune your skills and master the art of suction power adjustments. With the right technique, you can effortlessly glide from hardwood to carpet, picking up dirt and debris along the way. But what’s the secret to unlocking your Vivenso’s full cleaning power? You’re about to find out.
Mastering Suction Power Settings
When you need more power, high suction is the way to go.
It’s perfect for deep-cleaning carpets, pet stains, or high-traffic areas.
Remember to adjust the suction power according to the surface you’re cleaning to avoid damaging it.
Tackling Tough Messes and Debris
When tackling sticky messes like spilled syrup or honey, use the crevice tool to scrape off the surface.
The precision of this tool allows you to get into tight areas and gently pry them loose. Don’t be afraid to apply gentle pressure, as the Vivenso’s suction power will do the rest.
Optimizing Water Vacuum Performance
Since you’ve mastered tackling tough messes, it’s time to take your cleaning game to the next level by optimizing your water vacuum performance.
To do this, you need to understand how to adjust the suction power to suit different surfaces. For delicate surfaces like hardwood or tile, reduce the suction power to prevent scratches or damage.
On the other hand, increase the suction power when cleaning carpets or upholstery to pick up dirt and stains more effectively.
You should also pay attention to the water level in the tank. Make sure it’s not too full, as this can reduce suction power.
Conversely, if the tank is too empty, it may not pick up dirt and debris effectively.
By finding the optimal water level, you’ll get the best cleaning results.
Additionally, clean the filter regularly to prevent clogs and maintain optimal performance.
Effective Cleaning Path Strategies
You’ve optimized your water vacuum’s performance, now it’s time to tackle the most efficient cleaning paths.
To maximize your cleaning session, break down larger areas into manageable sections.
Divide open spaces like living rooms or hallways into smaller rectangles or strips, about 4-6 feet wide.
This approach helps maintain a consistent cleaning pattern and prevents you from missing areas.
When cleaning along walls, baseboards, or tight spaces, switch to a more linear approach.
Work in straight lines, overlapping your passes to ensure thorough coverage.
For curved or irregular surfaces, adapt your cleaning path to the shape, taking slow and deliberate strokes.
Remember to adjust your water flow and suction control according to the surface type and dirt level.
Troubleshooting Common Issues
Around the halfway point of your cleaning session, you’re likely to encounter some issues with your Vivenso water vacuum cleaner’s performance.
Don’t worry; most problems are easy to fix and won’t disrupt your cleaning flow.
If your vacuum’s suction power weakens, check the water tank’s level.
Refill it if necessary, ensuring the tank isn’t overfilled, as this can also reduce suction.
Another common problem is hair or debris tangled around the suction nozzle or vacuum’s underside.
Remove any blockages you find, and try to minimize hair or thread accumulation by cleaning these areas frequently.
Additionally, ensure the floorhead is securely attached to the vacuum’s body.
If you notice water leaking from the vacuum, inspect the seals and gaskets for signs of wear or damage, replace them according to the manufacturer’s instructions.
Conclusion
You’ve mastered the Vivenso water vacuum cleaner! Now, you can tackle any surface with confidence, from delicate hardwood to deep-cleaning carpets. Remember to adjust suction power, maintain optimal water levels, and clean the filter regularly. Divide larger areas into smaller sections and work in consistent patterns. If issues arise, check the water tank level, suction nozzle, and floorhead attachment. With these tips, you’ll be a pro in no time!


